How to Make a Tumbling Sticks Animation in Pixel Art
How to start making pixel fine art #3
A bones Aseprite animation
This article was supported by Patreon! If y'all like what I'thousand doing here, delight consider supporting me there :)
Also, this is the function 3 of a serial of articles, read the whole series hither in the Pixel Grimoire.
What is an animation?
An animation is an illusion of movement caused by a sequence of images played in a specific order that shows progressive phases of that motion. Our job as animators is to make that sequence wait equally convincing every bit possible.
The timeline
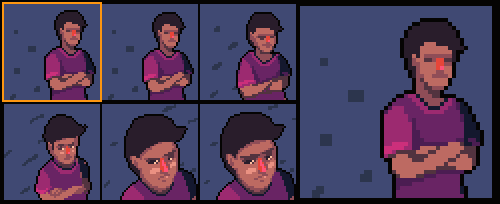
The fist thing nosotros demand to sympathize is the timeline. It's a way to represent multiple images in a single file. Each column is a consummate image and has a number assigned to it, we phone call information technology a frame.

The easiest way to create a new frame is to press ALT+B. This will make an empty frame correct in front of your currently selected frame, and select information technology. Yous tin can change the selected frame by clicking on it or by pressing the ' , ' and ' . ' keys (await for the '<' and '>' symbols, it'south easier to retrieve like this.
Experiment by cartoon some colors on multiple frames and striking play (Enter). Yous can also preview your animations using the preview window that can be toggled by pressing F7.
You are probably thinking "There's no way I'll retrieve all these shortcuts" and that's OK. Memorizing shortcuts takes some fourth dimension and musculus memory, but know that mostly everything can exist done using only the mouse. When y'all can't call up a shortcut expect for that command in the menus or in the Aseprite official quick reference.
A very elementary animation
In that location are many techniques on how to animate, the order you should draw the frames and how to optimize everything, but for now I'll try to explicate the simplest technique I know: a straight-alee animation of a bouncing ball.
"Straight-alee" means we'll draw one frame directly after the other, as opposed to drawing all the important poses of the animation offset and and then the middle ones. Beginning with a 32x32 file with a palette of your choosing.

The outset frame for this blitheness I call the "Still". It serves both equally a concept art, to define the style of your animation, and as the resting position of this sequence.
Y'all need to pay attention to the amount of details yous'll be adding to this frame, because the next ones will be post-obit the same style.
After this is done we can duplicate this frame (ALT+N) and merely move it upwards 4 pixels. Like this:
And now for the next frames, arrive go upwardly 3 pixels, then 2, i and let's concord it in place for one frame before reversing it.

We made a little bouncing blitheness! Well, it's not very proficient nonetheless, simply nosotros're going to improve it.
Timing
While cleverly using timing is a complex subject and could even have a whole tutorial dedicated to information technology, I'll focus now on the elementary technical aspect of it and let you experiment.

And so permit's add some timing. The ball stops when information technology hits the ground, waits for a piffling while and then magically jumps up once again. To increase the duration of a frame, right click on a frame'southward number and choose Frame properties. Then you can type how long y'all desire the frame to last. Let's try 300 milliseconds for this.
Call back yous can also select multiple frames to change their duration at the same time. This tin can be especially useful to speed up or slow downward a whole animation at once.
Squash and Stretch
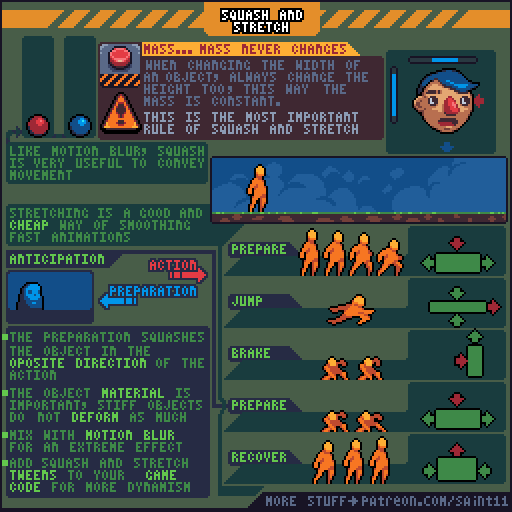
A simple thing nosotros can do hither to amend this animation is to add some squash and stretch, a really cool technique to make the movement seem more fluid and natural. Information technology consists in elongating or flattening the moving object in the direction of the movement while keeping the volume.
Let's duplicate the first frame and squash information technology horizontally while flattening it a little vertically, so we tin can go along the full volume. Keeping the volume is very important so your object doesn't look like information technology got smaller or bigger. Of course that'southward a rule nosotros acquire to break as we go more experienced, but for at present allow's stick to it. This is also called an "apprehension frame" and it's generally used to make the movement happening on the side by side frames wait more intense.
Now let's duplicate and modify the frame right when the ball hits the ground in a similar mode, maybe making it even more exaggerated.
The last affair is to stretch vertically (always flattening horizontally) the first frame of the spring and the concluding frame of the fall, when the brawl is at their fastest. And we are washed! Let'south see our result:
Saving the blitheness
While saving the file in the .aseprite format volition preserve the animation, you will probably want to export your animation to postal service it online or to use it in your game.
Online, the easiest way is to save your image equally .gif, using the File>Export… command. But check the Consign for twitter if you want to change the last frame's duration to ane/four of the duration and so it loops perfectly even after Twitter converts it to MP4.
When exporting for games y'all will usually want to save as .png, as usual, but the animation will have to exist broken down in a sprite canvas or image sequence. To save information technology as an image sequence, simply consign the file to .png format with a number in the end of the file name, like "bounce00.png" for example. This will create multiple files, like "bounce01.png", "bounce02.png" and so on.
Some game engines volition demand the file in the sprite sheet format. Y'all don't need to do that manually, just cheque File>Export Sprite Sheet and play around with the settings, you can change a lot of parameters in that location.
At present what?
Next, I would recommend experimenting more with the timeline and to attempt making other animation tests. You tin can await on my tutorial gallery and select a tutorial of your interest and try to mimic it.
Another idea is to try the classic beginner's exercise of making an animated flour sack walking and jumping around. Just proceed the resolution and colour count low for now, so things don't go overcomplicated.
Keep reading the role iv here!
hatchermansampard1945.blogspot.com
Source: https://medium.com/pixel-grimoire/how-to-start-making-pixel-art-3-c9eb70270fa1
0 Response to "How to Make a Tumbling Sticks Animation in Pixel Art"
Post a Comment